-
-
-
Tổng tiền thanh toán:
-

Ricoh GRIII Review by Eastern Portrait Photography
Quach Toan13/11/2020

Whilst I am certainly guilty of becoming a fanboy of whichever new camera I own, I have never written a camera review, so this will be my first. I‘ve had my GRIII for only three weeks, so I will leave this post open and update it over time.

Introduction
Ricoh is not a brand uppermost in the minds of most photographers on the market for a new mirrorless camera. Sony, Fuji and Panasonic seem to have dominated market visibility, if not the actual market, for high-end mirrorless cameras systems for the past five or so years, with late-comers Canikon gaining traction with their most recent offerings. Ricoh is probably more famous for having acquired the Pentax brand (via Hoya) in 2011, than it is for any particular camera. But, at least in one niche, Ricoh has always been there. Before Fujifilm reinvented retro chic in its X-series digital cameras. Before old-school film cameras and vinyl record collections became the sine qua non of hipster cred, the Ricoh GR camera was there, and has been there since the first GR compact 35mm film camera hit the streets in 1996.
The GR series has a storied history, especially among street photographers, and the GR III is the latest digital iteration of the camera.
The GR III is an APS-C sensor compact camera, weighing in at a mere 257g. Out front it has a fixed 18.5 mm (28mm full-frame equivalent) f/2.8 lens with a built-in 2-stop ND filter. It features 3-axis in-body image stabilisation (IBIS), rated at four stops. Out back is a 3” 1.04 million dot rear panel, but no EVF. It has hybrid phase and contrast detect autofocus, and outputs 14 bit, 24-meganickle files in DNG RAW format, making it instantly compatible with the Adobe Photoshop suite of processing software. As with the Fujifilm system, straight out of camera (SOOC) jpegs are very appealing, owing to the built-in colour and B&W profiles- more on that later. The camera has been out for over a year now, so if you like the images here and the philosophy behind the design, but still need to know all the tech-specs, there are tons of great reviews on the interweb. I’ll provide links to the better ones below. This post will be more of a real-world account of my personal experience shooting with this little pocket rocket. If you’re not up for the full read, you can cut to THE CHASE at the end for a summary.
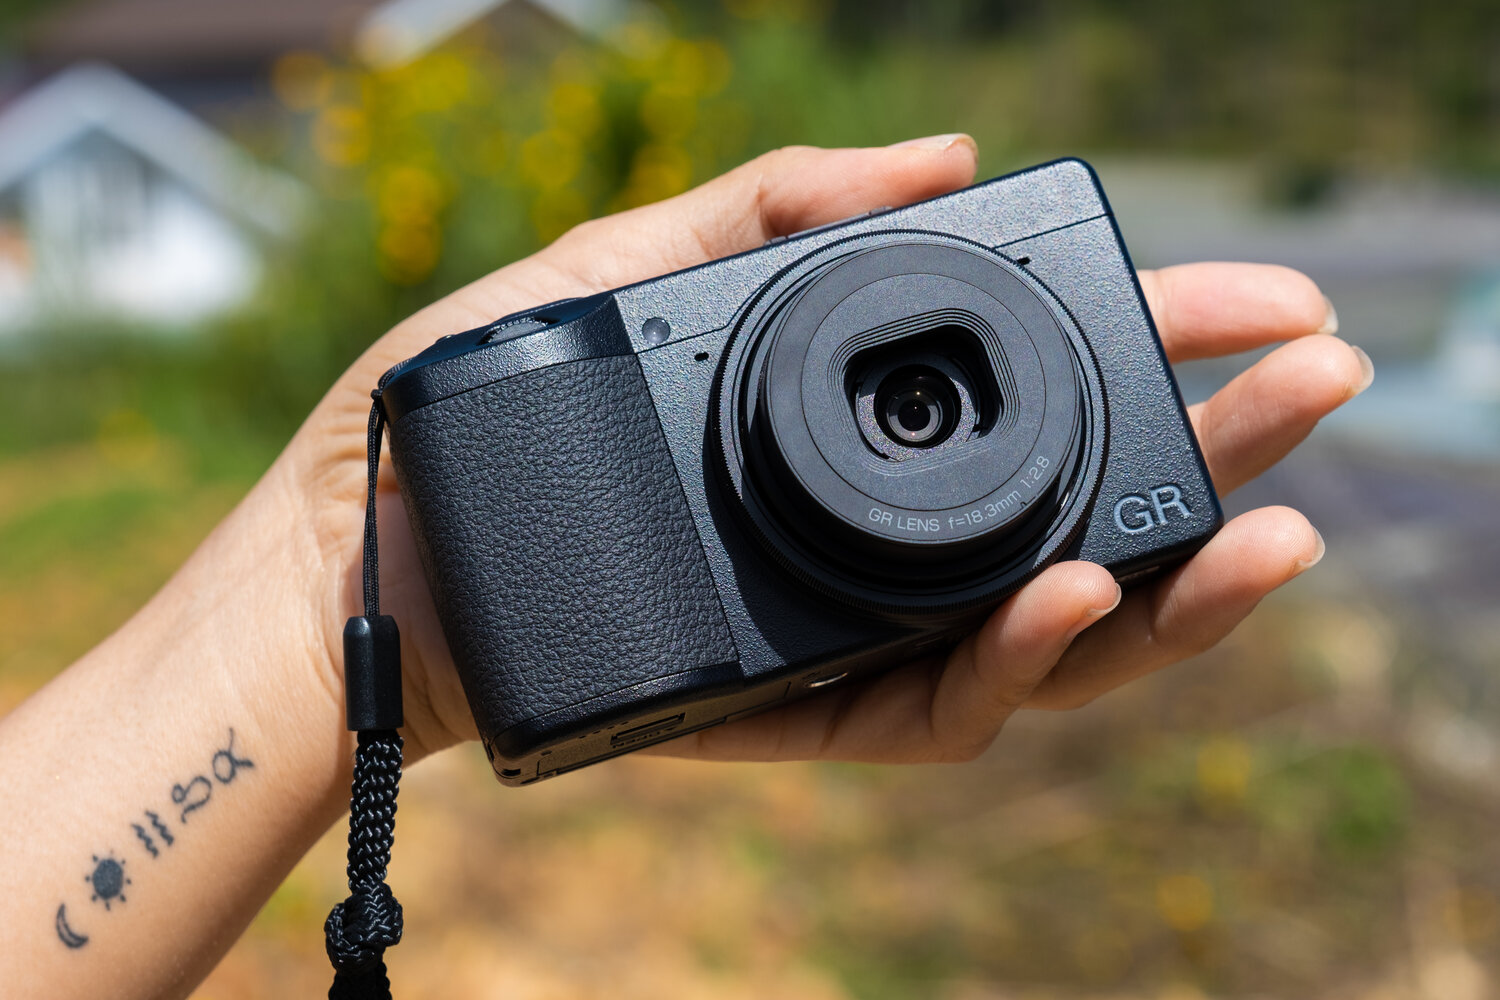
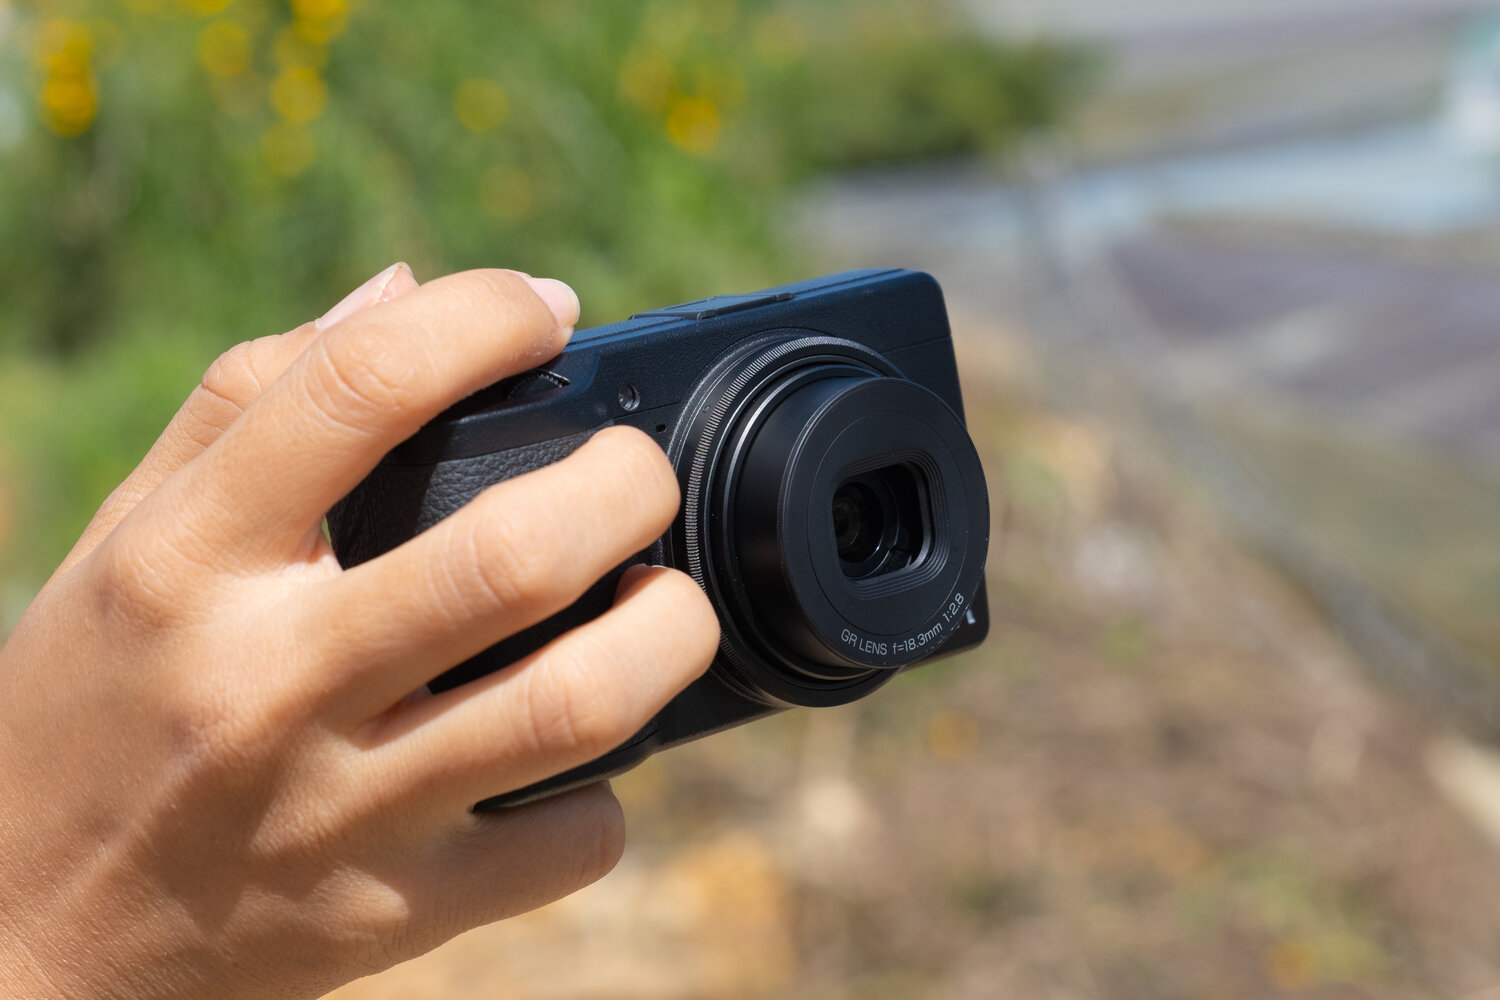
First impressions (only marginally more boring than watching an unboxing video).
The box and its contents are small and lightweight. Inside, there’s the camera, a truly tiny battery, USB-3 (C-type) charging cable (but no charger), tiny wrist strap, and the usual paperwork, including the nowadays redundant paper version of the operation manual. I was a bit lucky. I live in Vietnam, where Ricoh makes this camera, and a local distributor had a promotional package which was hard to resist- three extra batteries, a genuine Ricoh leather case, a silicone rubber ‘camdom’, Sandisk 32gb card, and an aftermarket charger. All for the same price as the camera alone. If you live in VN, check the link below to see if that deal is still afloat.
LP Store (Vietnam) Ricoh GR III deal
Even though I had done two months of research before deciding to drop the kablinki for the camera, I was still surprised by how small it is. However, this tiny size doesn’t get in the way of the shooting experience- quite the opposite, actually. All the controls, with the exception of the button for movie mode (no one will ever use this- explanation later), are within easy reach of my right hand and are intelligently spaced so that I don’t end up smushing two or three buttons at the same time. The front rubberised grip is shallow, but substantial enough to maintain decent security in the right hand, and most buttons are within the reach of the right thumb. I always wear a wrist strap just in case I get clumsy. Although the camera feels sturdy due to its magnesium alloy construction, it wouldn’t fare well if dropped onto a hard surface.
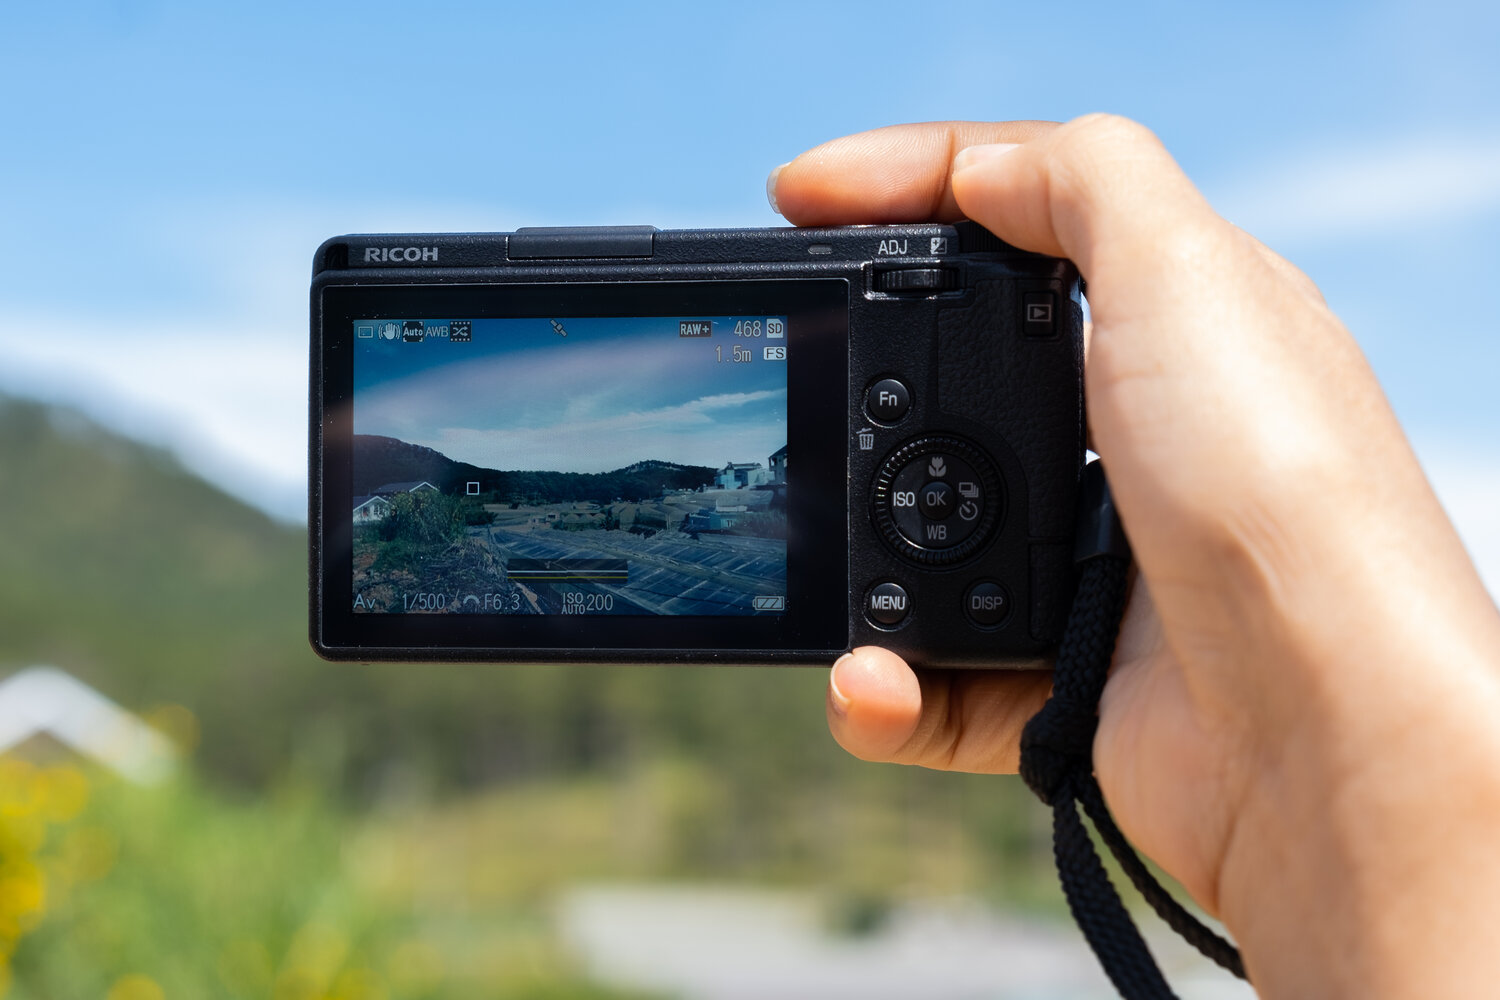
Nice screen, but no eyehole
The rear screen is sharp and bright enough in most situations and is touch activated- a feature which can be switched off. The touch functionality supports menu scrolling, swiping through the images for review, and can be used to select focus points. The latest firmware version (v. 1.41) allows for touch-screen activation of both focus and shutter release. In other words, you point the lens at the subject, compose the image on the screen and simply touch where you want the focus point to be and you’ve captured the image. You will never accidentally activate the touch screen with your nose when you use the electronic viewfinder (EVF) because, well, because there isn’t one. For this reason, I leave the touch functionality switched on at all times.
Battery life
In order to keep the camera small and yet still be able to accommodate the IBIS, some battery capacity was sacrificed. These DB-110 batteries are tiny- only 1100mAh. CIPA rates them at 200 shots. Good luck with that. If you chimp a lot like me, you’ll be lucky to get 150 shots per charge. They are cheap though, and KingMa make an after-market version along with a kit with two batteries and a charger. They work fine for me and I always go out with at least two fully charged batteries.
Shooting experience.
This camera is a joy to use, but you must first understand its raison d’etre, and accept its limitations.
The GR III is not a sports shooter
The autofocus and burst rate are not up to speed for that. Also, shooting sports action with a 28mm equivalent lens? Nah.
Minimum safe distancing
The old saying that long lenses are for beauty, whereas wide-angle lenses are for drama and emotion is pretty much correct. So, can the GR III do portraits? Absolutely it can, but you must be careful with the composition - the 28mm lens will distort perspective in ways that can be unflattering to your subjects. If for example, you get too close to a face, the part closest the lens- typically the nose - will look disproportionately large. This distortion can be used for dramatic effect, for example by placing a subject in the corner of the composition. Careful composition is required if distortion of the facial features or the subject’s body are to be avoided. Note that this distortion is something to consider when shooting with any wide angle lens- it’s not a flaw in the Ricoh lens, which has excellent performance specs. This thoughtful composition thing is a learning curve and part of why photography is such fun.

ISO 200 f/2.8, 1/100sec

ISO 200 f2.8, 1/320sec.
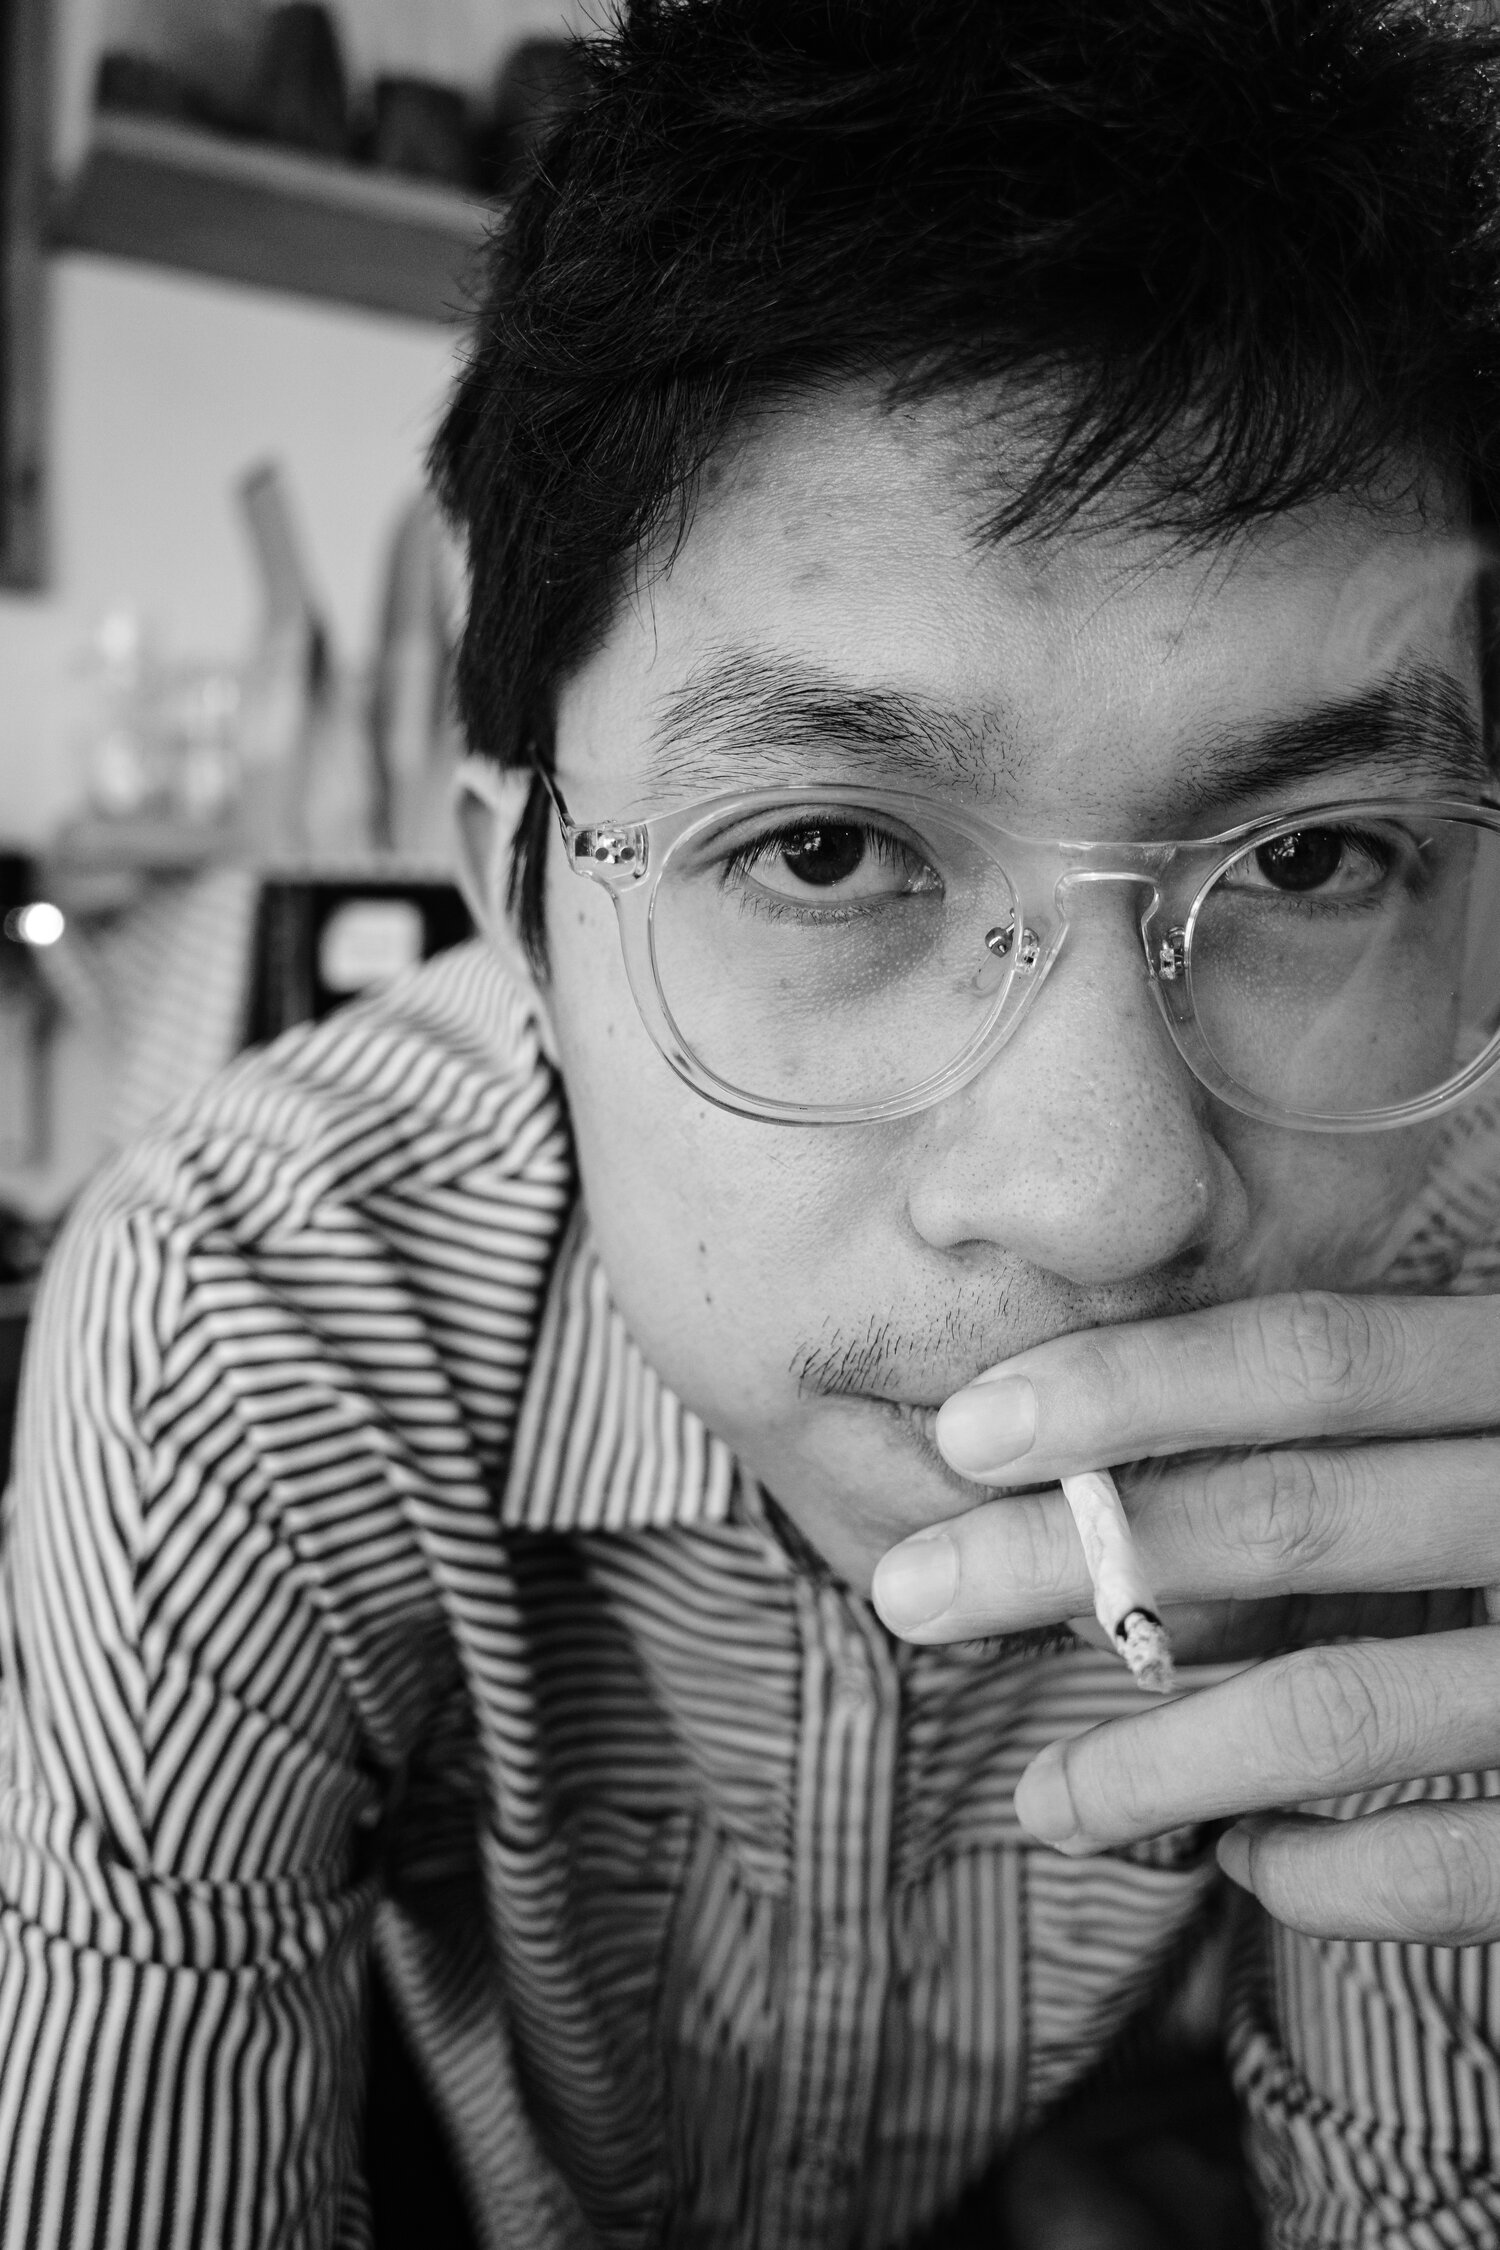
ISO 640 f/2.8 1/100sec.
Not a hybrid shooter.
Most YouTube reviewers quite rightly don’t bother discussing the (lack of) video capability of the GR III. The video specs top out at 60 frames/sec, 1080p. The moving images are quite soft, and the continuous autofocus is just ok. I haven’t even tried shooting video with it, as my Samsung S10e is a better video solution.
So what is this camera for? Who is it for?
In keeping with the heritage, the digital age GR cameras are essentially marketed by Ricoh as being street shooters. This is essentially true, but it sells the camera short. A better description would include something more about its great versatility.
Environmental portraits
This camera is capable of beautiful environmental portraits, in which some context is included within the frame around the subject. For me as a story-teller, this means it’s a fantastic documentary camera. Within the 28mm frame, I can make grammatically complete visual ‘sentences’ with each image containing a subject, verb and object. In the past, the photojournalist’s go-to focal length was generally 35mm. Modern photojournalism embraces a wider field of view, typically provided by a 24mm focal length, as this is the wide end of most professional standard zooms on the market. The GR III’s 28mm FOV is an excellent sweet spot in between 24mm and 35mm.
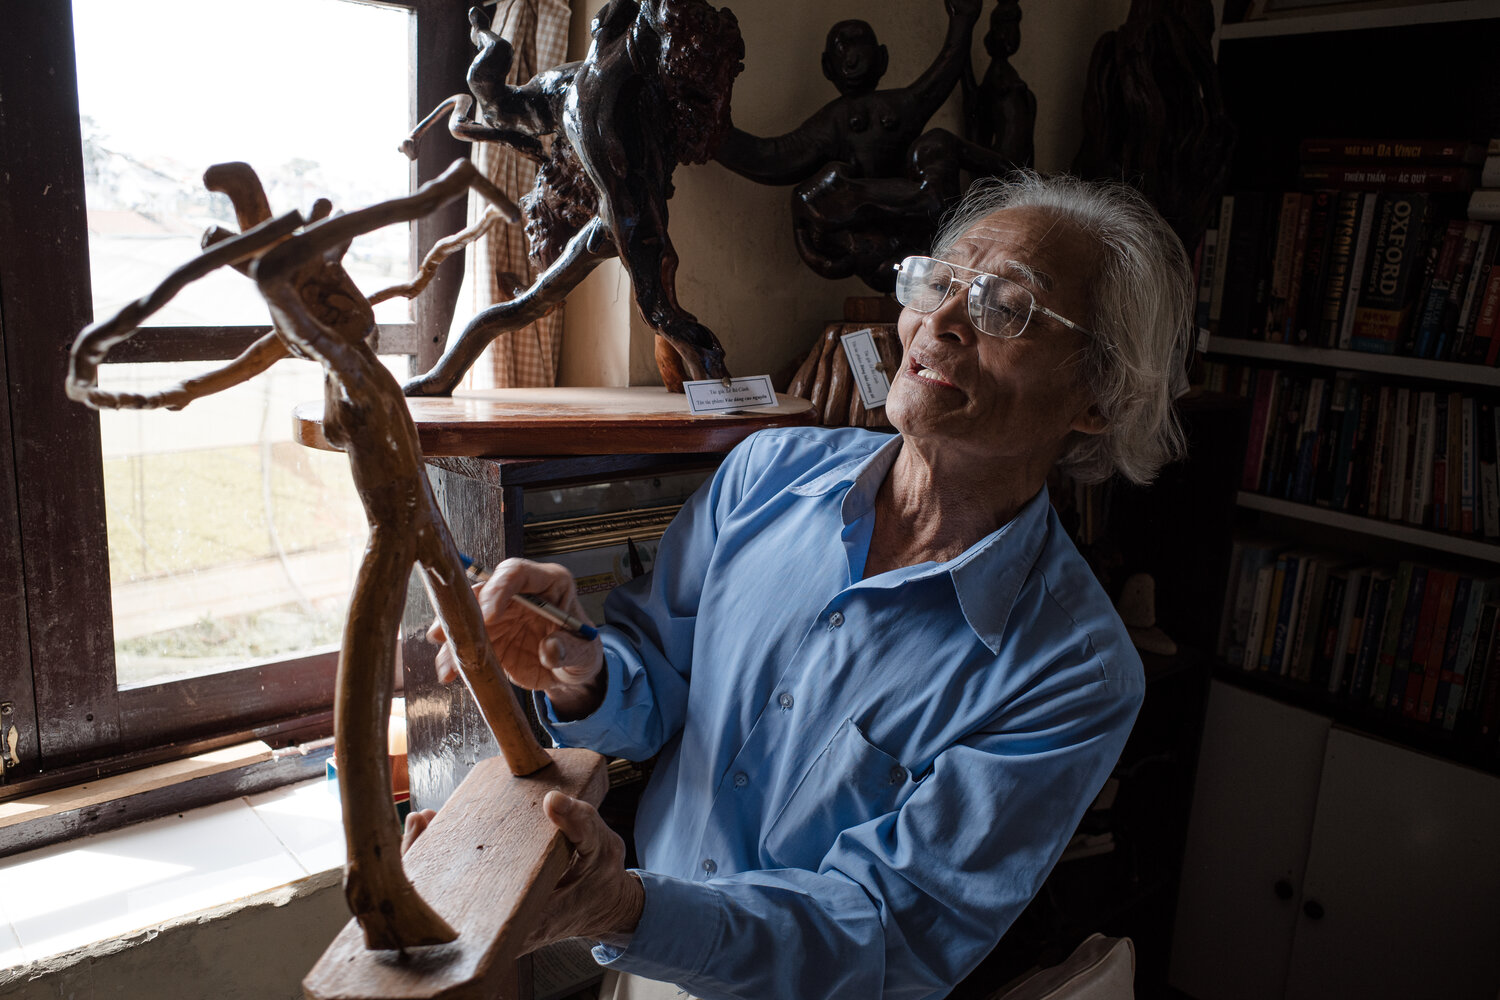
ISO 250 f/3.5, 1/160sec.
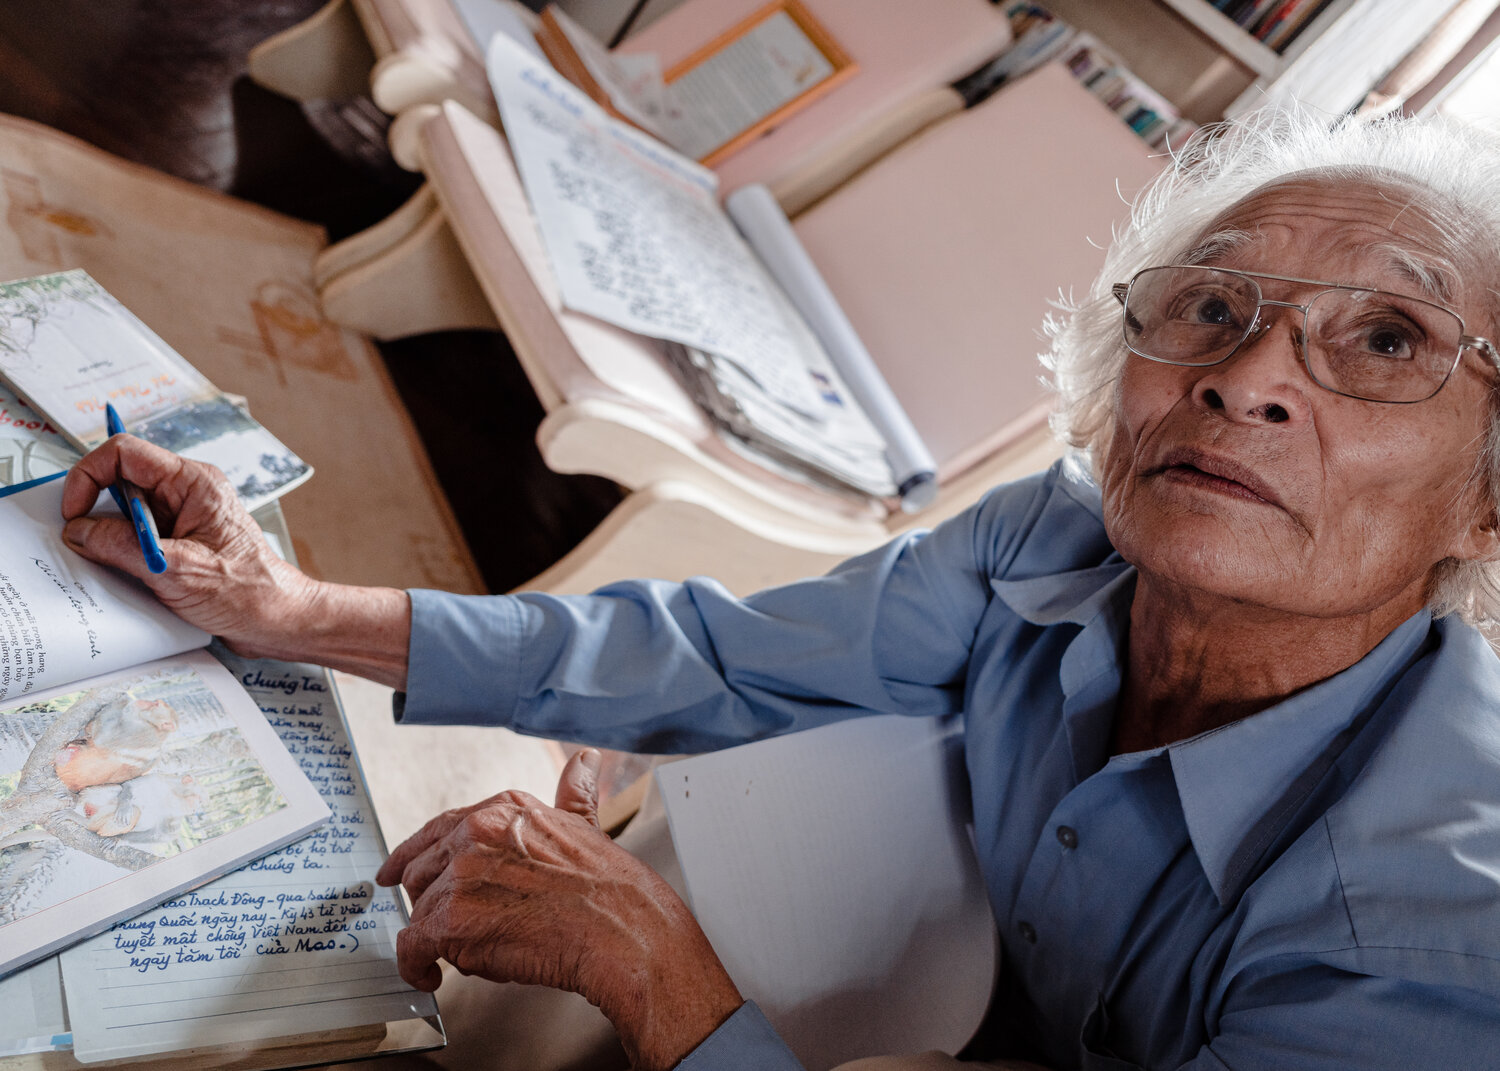
ISO 500 f2.8/, 1/160sec.

ISO 500 f2.8/, 1/160sec.
(Sidebar: composing on the rear panel)
Here’s an interesting perspective on rear panel verses viewfinder composing from a friend and semi-retired pro photographer, Robert Morehead. Robert told me that since switching out all his pro dSLR gear for point and shoot cameras a few years ago, he has found himself paying closer attention to the composition on the rear panel and little to no time in cropping his images in post. I have found this to be true for my own work, also. I usually crop to a 5 x 7 frame in Lightroom, but with the GR III, I generally find myself just leaving the image dimensions as shot. Interesting observation.
Built environment and landscape
The GR III is also great for architectural photography, with the caveat being that if you want to fill the frame with a complete building or other structure, you might need to zoom out by using your feet. This is not always possible, of course. Lately I have been taking pics of the beautiful old French colonial villas in my adopted city, Da Lat in Vietnam. These old gems are usually situated in the middle of large blocks of land, so this isn’t much of an issue. I can usually frame the villa and surrounding gardens from the sidewalk.
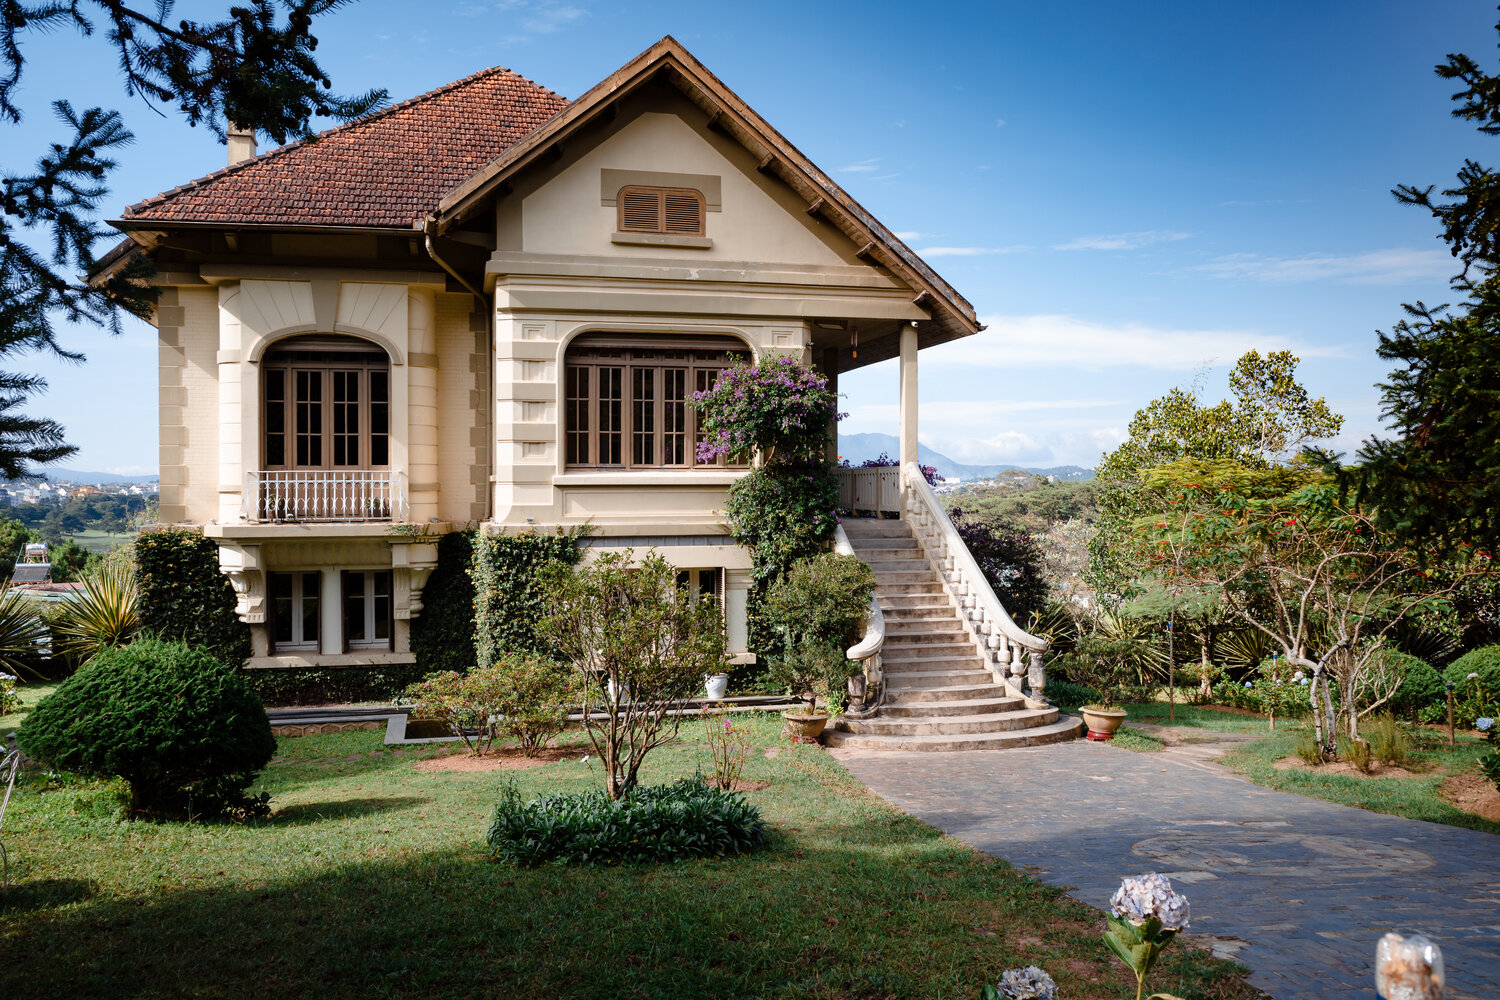
ISO 100 f/5.0, 1/320sec.
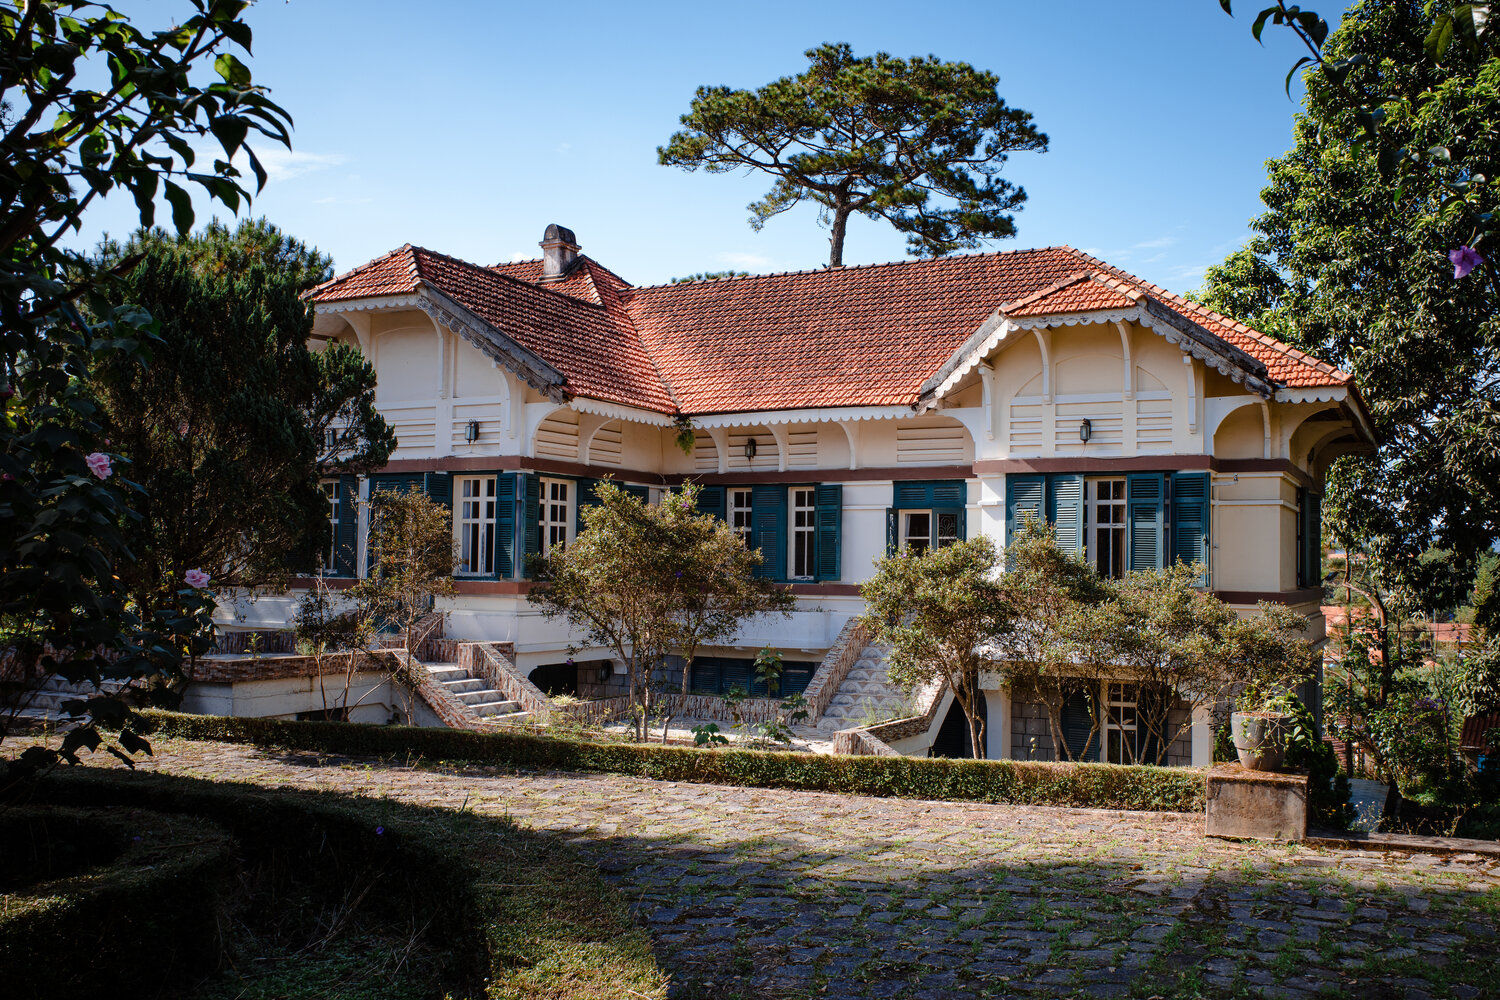
ISO 100 f/8, 1/80sec
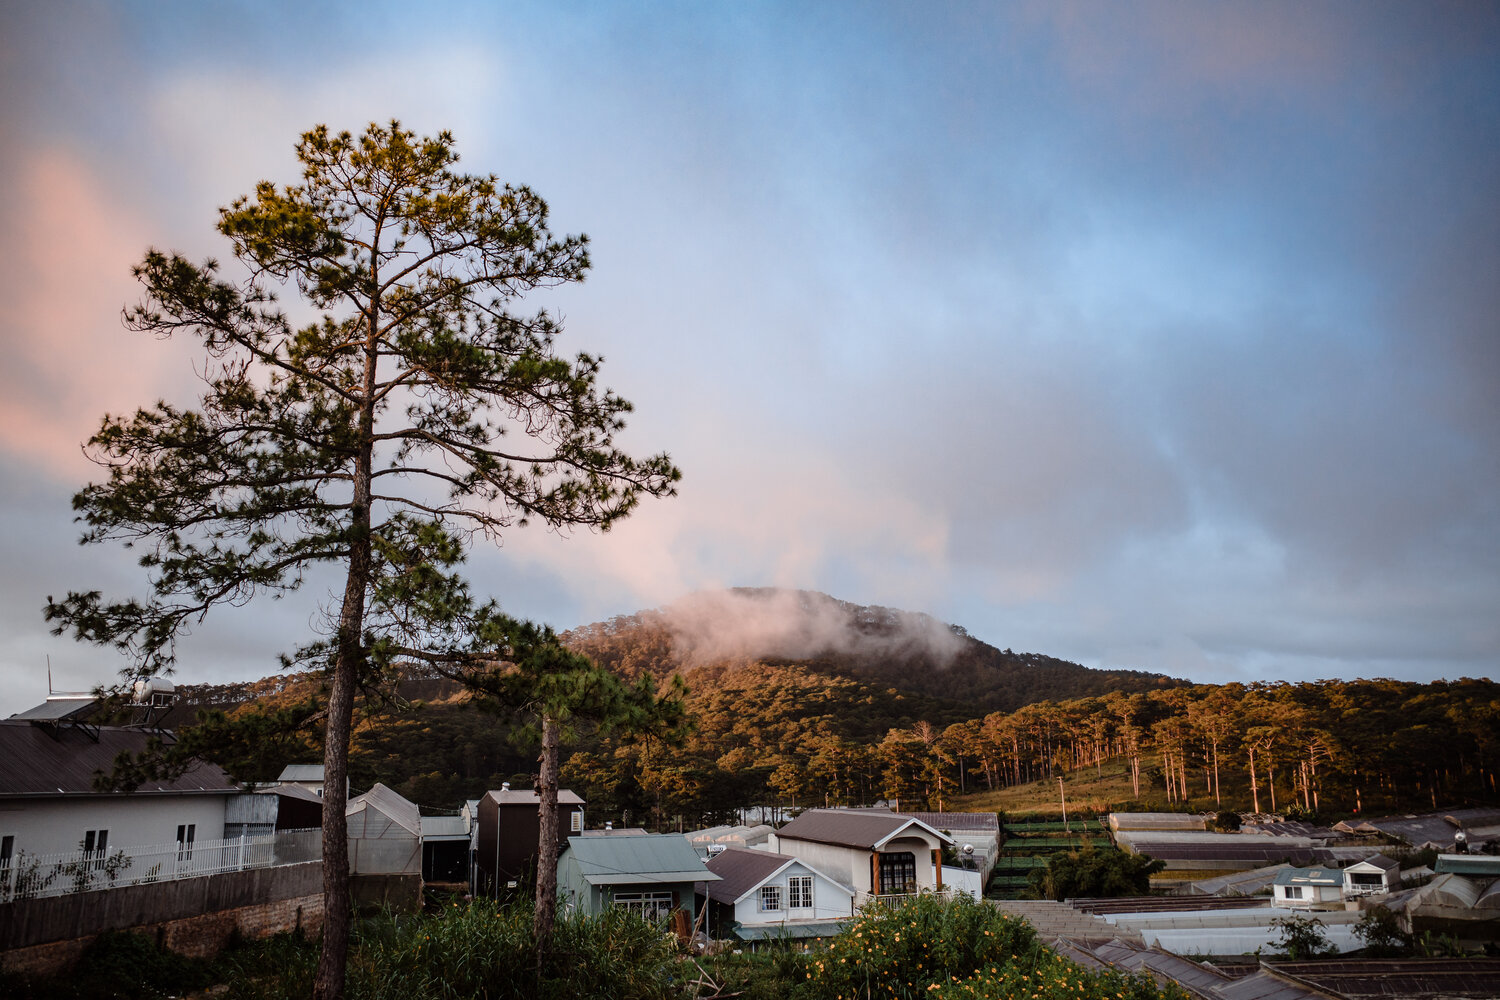
ISO 500 f/2.8, 1/100sec.
The GR III can also capture landscapes, and 28mm is well suited to this task. NiSi makes a set of filters for the GR III for people who like to use slow shutter speeds in order to blur waterfalls and flowing rivers. I haven’t tried them yet, but they are receiving good reviews. Links here:
Nisi Master Series filters for Ricoh GR III: B&H
Mini macro monster.
I was surprised and delighted to discover that the GR is a brilliant little macro shooter. While out taking pics of the local French villas one day, I discovered a colourful orb-weaver spider waiting in ambush in the centre of its web. I switched into macro mode and snapped away at different apertures to try and capture its fine details.
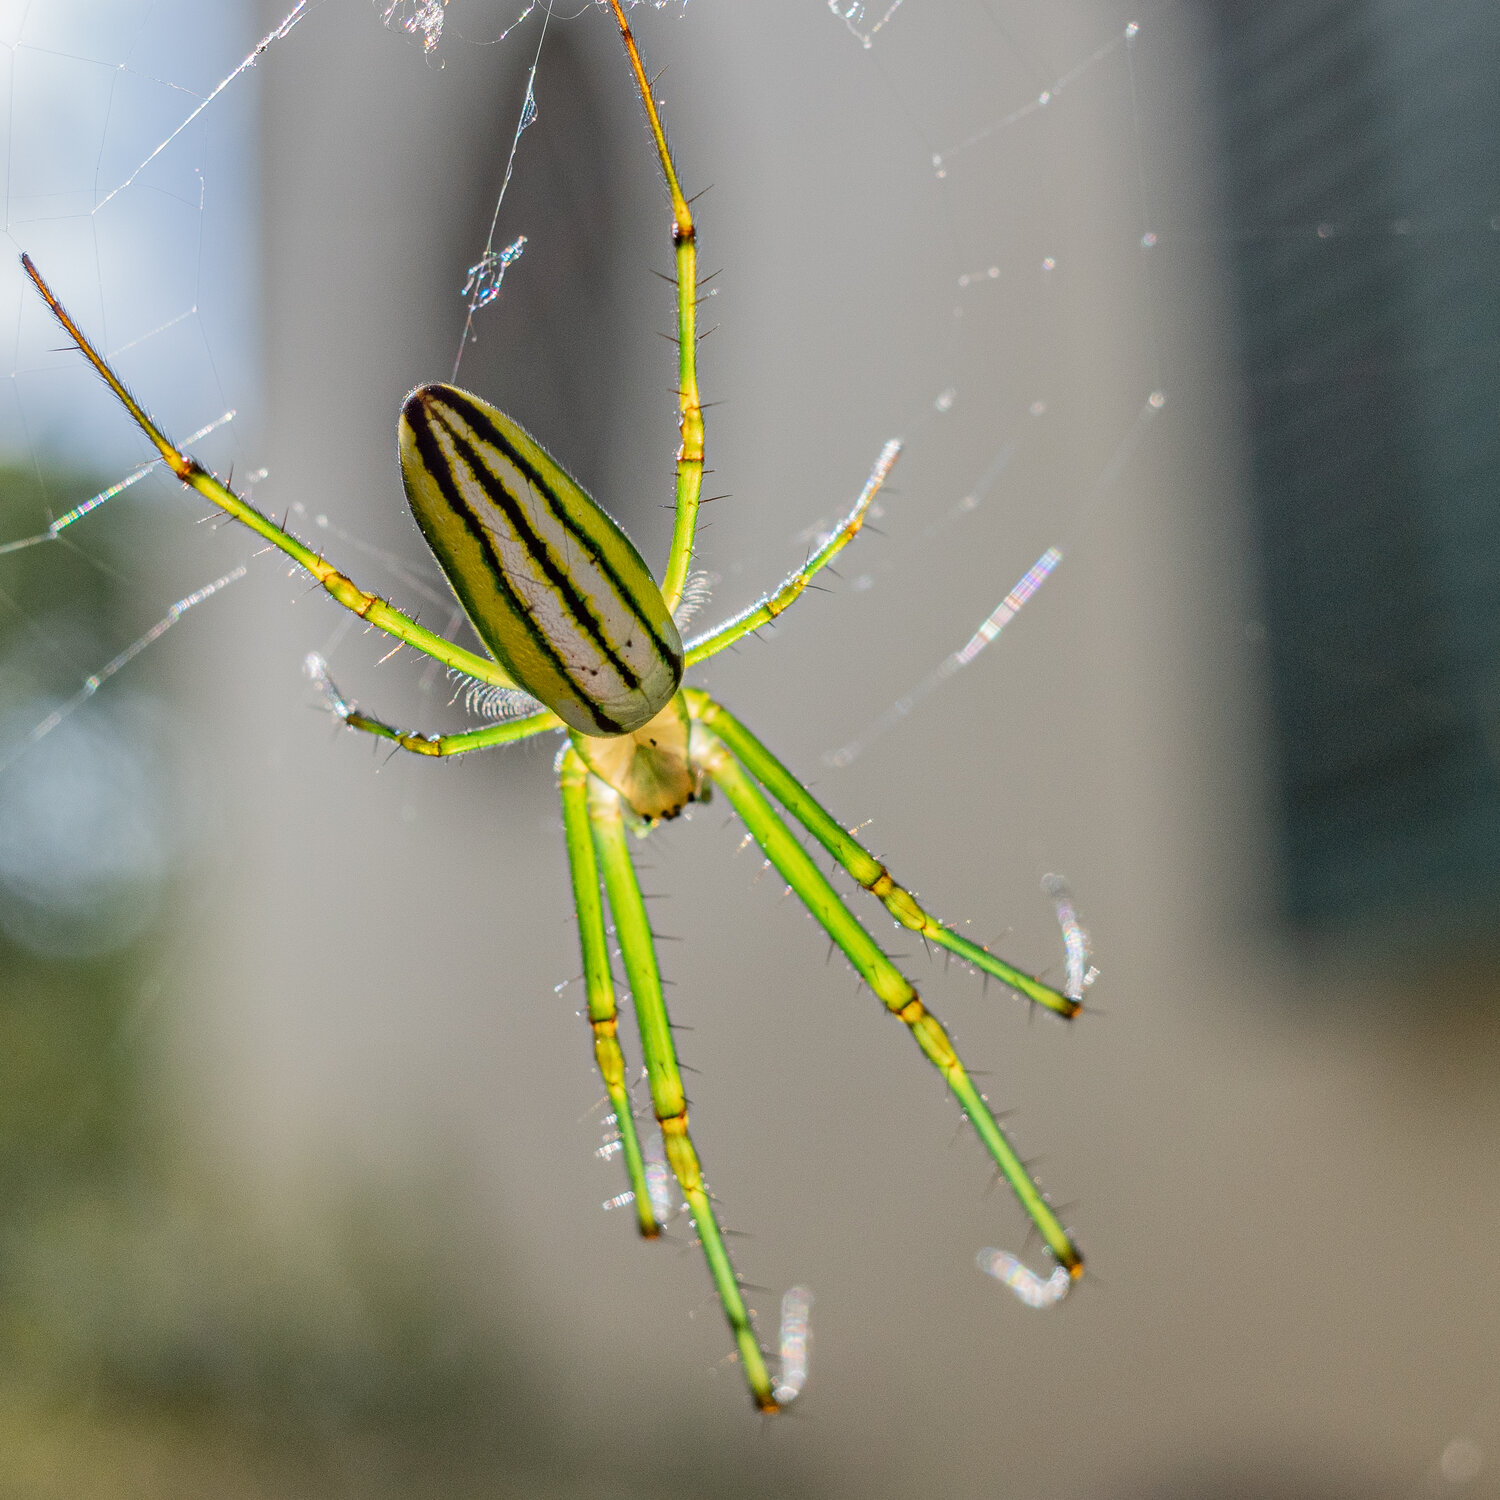
ISO 200 f/5, 1/400sec
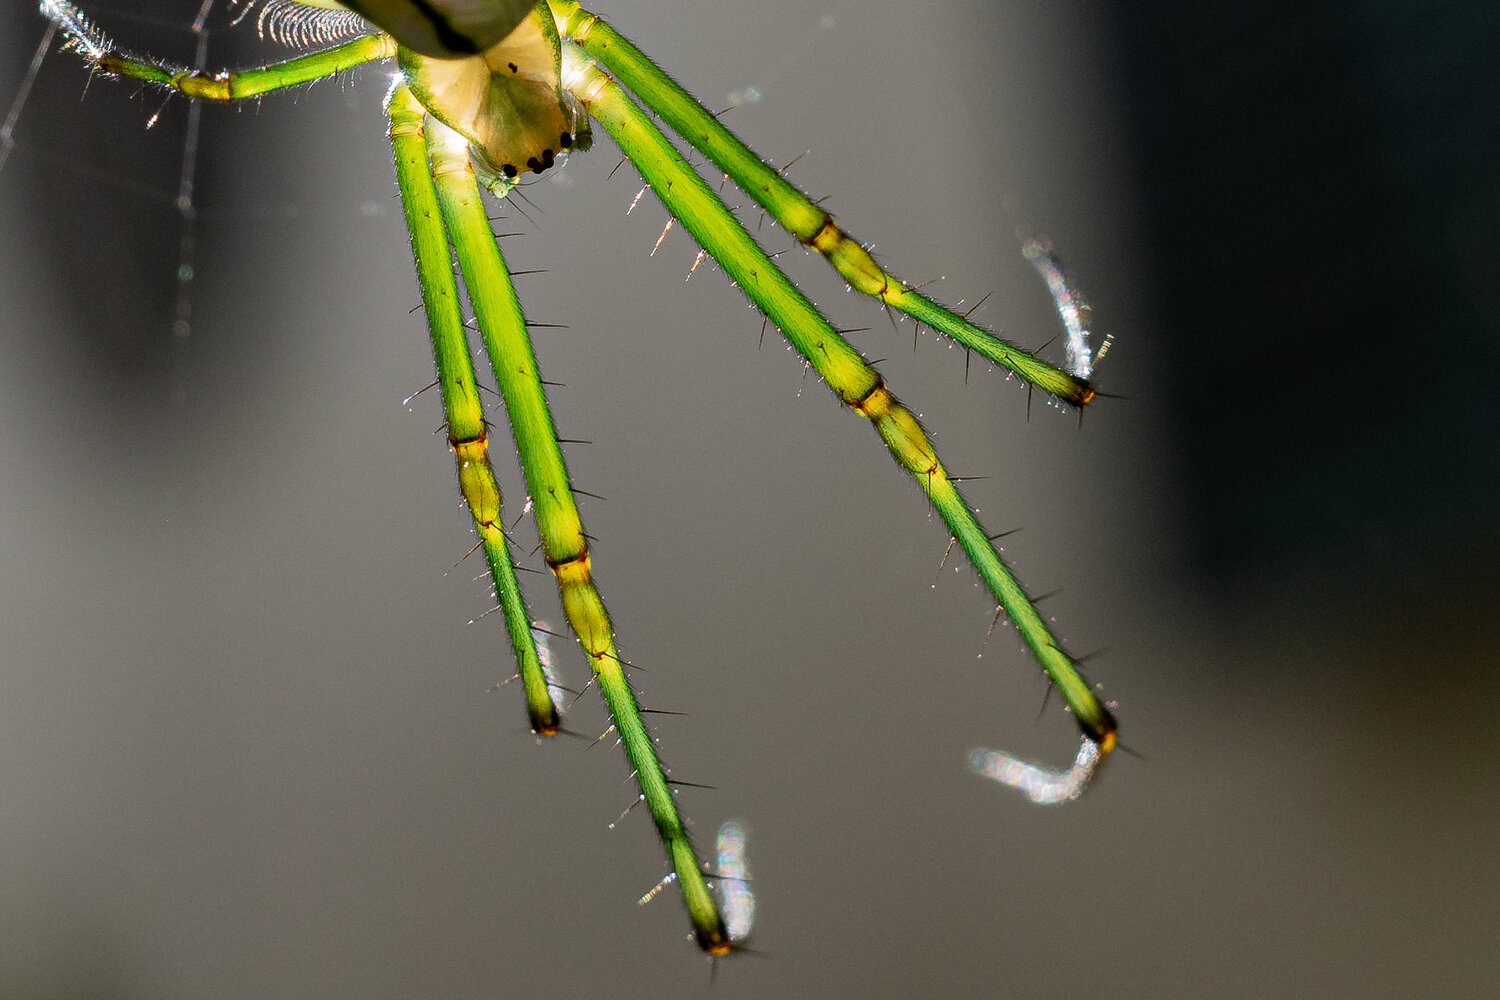
ISO 200 f/5, 1/400sec. 100% crop from a different image to above.
Once I had settled on f/5.0 in order to get most of the critter in focus, the results were excellent. I used the touch-screen autofocus method for this. You compose the image, then touch the screen where you want to focus, half-press the shutter to acquire this point, then push all the way. It worked well, but if you have the luxury of being able to use a tripod in the field, you could also try the manual focus setting. There is focus assist peaking and also a magnification setting which lets you focus with more precision. Focus is then acquired by using the scroll wheel on the back of the camera. It’s slow, requiring many turns to pull focus, but it’s accurate.
One nifty feature of manual focus is that it can be instantly overriden by using the screen-touch method mentioned above. No need to switch out of manual mode to do this. I had a play with manually focusing in macro mode at home, and really didn’t see much difference in accuracy compared to using the autofocus method.
Food focus
I have been doing a little food photography for a client lately, and whilst I haven’t used the GR professionally for this yet, I can see its potential in this regard. In macro mode, you can get close enough to the subject food item to create a dreamy out-of-focus background and draw the eye of the viewer to the culinary creation on the plate.

ISO 400 f/4.5, 1/160sec.

ISO 400 f/4.5, 1/160sec.

ISO 1000 f/4, 1/50sec
IBIS
The GR III is the first in the GR series to sport 3-axis in-body image stabilisation. This is rated by Ricoh at 4-stops. In practice, i’ve found I can get sharp images of stationary objects at shutter speeds down to about 1/8sec. If I limit my intake of strong Vietnamese coffee, I can achieve sharpness whilst hand-holding at 1/4 sec. Quite impressive for a tiny point and shoot.
f8 and be there
The design ethos of the Ricoh GR III centres on its fitness for street photography. There are several features that make this so.
Snap focus is principal amongst them. Snap focus allows you to pre-set a focusing distance to which the camera automatically ‘snaps’ at a full shutter button press. It can also be set up to work at the touch of the rear screen. This means the camera will not waste time acquiring focus in the normal way. It will immediately jump to the focal distance you set - 1m, 1.5m, 2m, 2.5m, 5m or infinity. It is essentially zone-focusing by another name. If you choose, say 1.5m and f8, the instant you squeeze the shutter, everything from about 1m to 5m will be in acceptably sharp focus. Here’s the caveat, though- this is only true for moving subjects if you have chosen a fast enough minimum shutter speed to freeze their motion. Typically for people doing stuff on the street, 1/200sec is enough for this. For faster moving subjects like vehicles, experiment with faster shutter speeds, or follow the subject and shoot as you pan.
Ninja stealth
The understated minimalist design of the camera doesn’t attract attention. Its diminutive form factor, black body and near silent leaf shutter mean you will more likely be seen as a gormless tourist who’s strayed from the beaten path, rather than as a serious photographer.
One-handedness
The camera is easily operated on the street with just the right hand. If you’ve set up the snap focusing distance and an aperture to allow for a deep enough focal plane, you can shoot with one hand and drink a beer with the other - local laws permitting. There’s a depth of field scale on the left side of the screen which shows you the approximate range of acceptably sharp focus.
Image Quality
This is a summary of my findings after a short time with the GRIII. For a deeper dive into this aspect, have a look at DP Review here.
This camera is capable of producing gorgeous, highly detailed images. The 24mp sensor allows for some cropping latitude, and there is also a 35mm in-camera crop setting, which gives you a 35mm field of view at the expense of a third of the megapixels in the file.
The lens and sensor are perfectly matched (a bit like the Fujifilm X100 series with its 23mm f/2.0 lens, and the Leica Q with its 28mm f/1.7). This means there are no compromises regarding sharpness. The lens is easily capable of resolving the full 24mp of the sensor. Wide open at f/2.8 images are centre sharp but a little soft in the corners, as is normal for most lenses, but stopping down to just f/4 gives edge to edge sharpness. Nice!
In low light, the camera performs about on par with its competition. That is to say, at ISOs up to about 1600, files are not noticeably noisy, but by 3200, the noise begins to impact on the fine details. My maximum auto ISO is set to 6400, although in most situations I’d prefer to be shooting at 3200 or lower. Of course, all this depends a lot on your end purpose, too. High ISO noise is more visible on larger screens and in large prints.
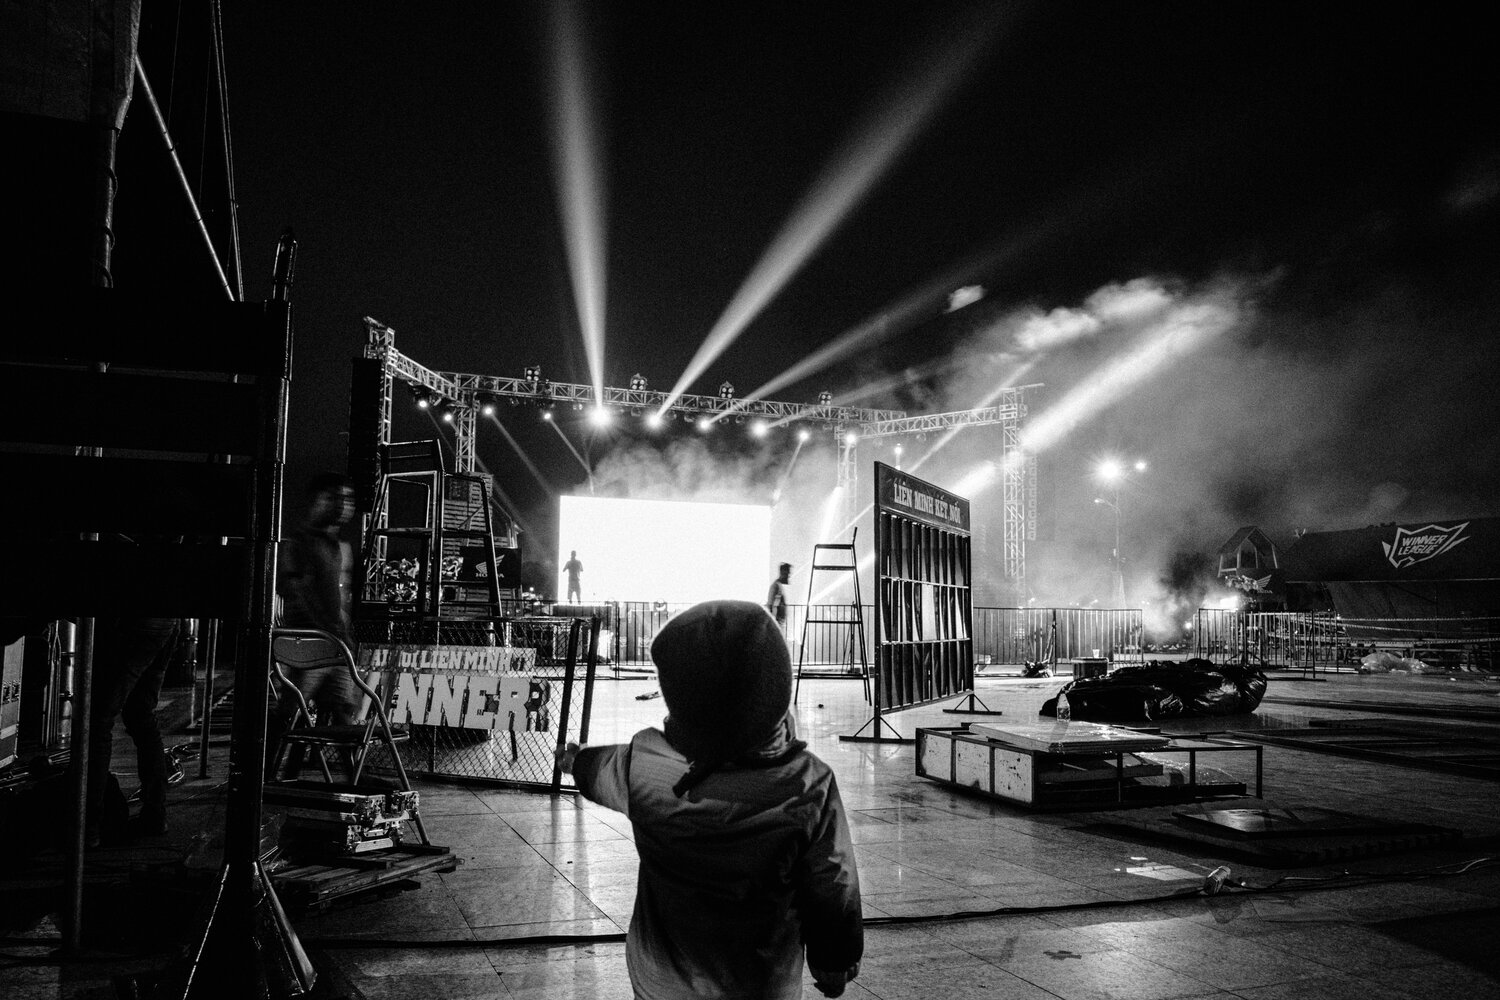
ISO 2500 f/3.5, 1/15sec
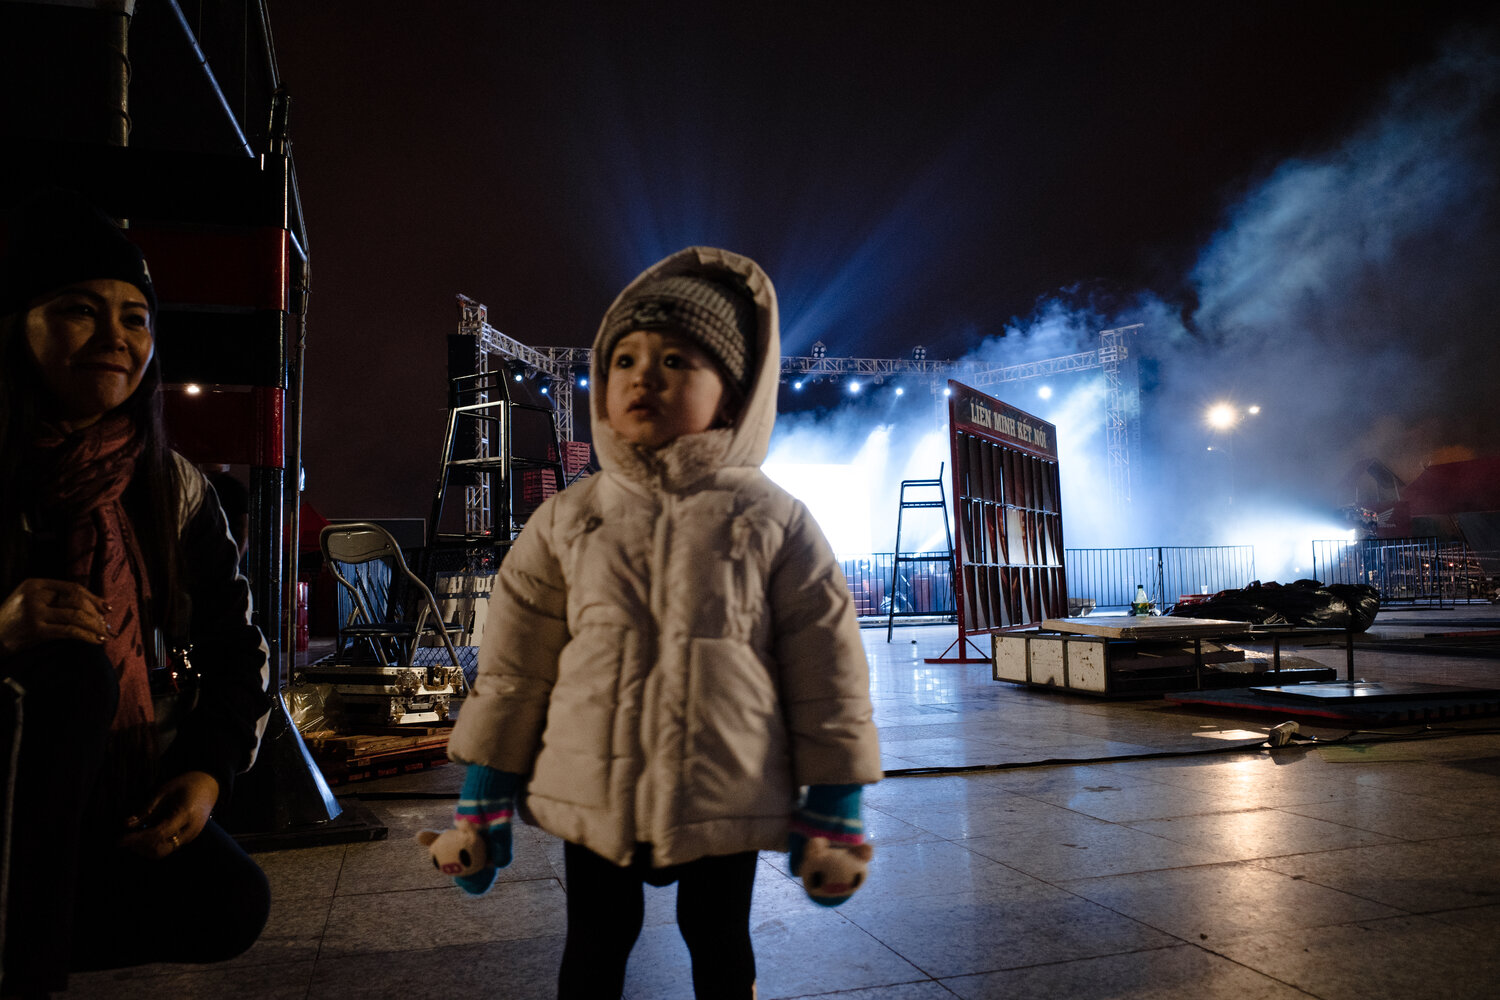
ISO 2500 f/3.5, 1/25sec
In any case, the images that come from this camera will likely be subjected to post-processing with settings which add noise, or at least some grainy ‘character’ to the images. The very nature of the subject material this camera was designed to shoot invites the use of ‘grungy’ or old-school film presets in editing. I’m a big fan of using these myself because some of them just look so good. That’s not to say the RAW files don’t look great with the default settings of Adobe Colour and conservative sharpening when they open up in Lightroom. It’s rather that high contrast, high structure black and whites simply ‘look right’ for the street. To see what I mean, check out the work of famous Japanese street shooter, Daido Moriyama:
(Sidebar: Wabi-sabi)
Wabi-sabi is a Japanese aesthetic which celebrates the beauty found in imperfection. Daido Moriyama’s images exemplify this aesthetic. His subjects are rarely in sharp focus, the images are so contrasty that skies are blown out to white and shadows are crushed into blackened oblivion. All of which should amount to an epic photographic fail. But not so. His pictures are compelling, challenging, full of drama and intrigue.
For a great overview of the philosophy of wabi-sabi, take a look at Jamie Windsor’s YouTube episode on his favourite photographer, Nan Goldin.
Even without applying presets the images out of this camera have a certain ‘look’ to them. They seem ‘gritty’ to me, even at the base ISO of 100, and I really dig this look. I have heard pundits guessing the reason for this being the pixel pitch, the baked-in sharpening of the DNG files, or something else. I’m not a tech geek, so I’ll leave it to engineering types to work out. Suffice to say, the GR images seem to have an edginess to them that actually compliments the street or documentary vibe of scenes shot with the camera.
For those who want to exploit the GR legend fully, there’s an in-camera jpeg ‘Image Control’ setting called ‘Positive Film’ - it’s slightly old school, with strongish contrast and desaturated colours. Greens tend more toward blue, reds are a bit magenta-ish. This preset even has its own Flickr page as a mark of the reverence that fanboys have for it. Adobe LR and Adobe RAW don’t yet offer any of the Ricoh presets. This is a shame, because the B&W ones are also excellent. But fear not, there is an inexpensive work around.
Samuel Lintaro Hopf, YouTuber and Ricoh GR aficionado has produced a set of GR Positive Film emulation presets for Adobe Lightroom and Camera Raw. His package also includes some excellent versions of Fujifilm’s beloved Acros black and white film. They can be purchased here.
Whilst I’m giving him free plugs, Samuel's YouTube Channel is an excellent resource for GR fanboys and girls.
In summary, I am really enjoying the images from this camera, as well as the whole experience of using it. It’s portability, paired with stellar image quality and versatility have made it my new everyday carry. I love it!
THE CHASE
What’s great
Discreet design - perfect for not attracting the ire of people you are shooting
Silence is golden- you can shoot people at a sombre indoor event without being ticked off for noisy shutter sounds.
It’s tiny- this camera won’t be left at home because it’s too big to carry out and about- it fits in your hoodie pocket.
Image quality- the 24mp sensor and lens together are capable of taking incredibly crisp and detailed images.
Ricoh’s Positive Film jpeg preset, and the B&W preset options- the Positive Film preset has almost as big a cult following as the camera itself. Old school-ish, without looking like a cheap Instagram filter.
Macro- a great bonus feature of the camera is its ability to get close and capture details of flowers, critters, products or food. Yay!
Haptics- despite it being so small, the GR’s control layout is easily navigable with ‘normal’ sized hands. It’s designed for one-handed operation on the street.
Snap focus- this is a great feature for street, or for any situation where you need to respond quickly to a changing scene. This feature also partly negates the first item on the ‘What sucks’ list.
3-axis IBIS- excellent for hand-holding to shoot static subjects in low light.
Three customisable user modes- Although I have set two of them up, I find that the quick menu is so easy to use, that I don’t bother unlocking the mode dial to change mode settings in real-world situations.
Finally, It’s just such great fun to shoot with! I have never owned a camera before that just makes me want to take pictures as much as the GR III.
What sucks (a bit)
Autofocus- compared to much of its competition, and considering that the latest GR has phase-detect as well as contrast detect focusing, it is not the snappiest camera to lock on to subjects. This is especially true in the case of low light and/or when using the macro feature, when it can hunt for focus quite a bit. Also I found that using ‘Pinpoint Focus’ hunts more in low light than either ‘Auto Focus or ‘Select Autofocus’. ‘Select AF’ is my go-to setting.
Low light, high ISO performance- It’s not a full frame Sony, so don’t expect clean images into the ISO stratosphere. I find the GR high ISO performance on par with my Fujifilm X-T4.. Don’t forget there are flash options (see below), and also the IBIS, which can reduce the required shutter speed, and allow you to shoot at lower ISO values.
Price- It’s not cheap, especially considering its limited video specs.
Unremarkable video- Meh. There are other options for this- the best of them are from Fujifilm, Sony and Panasonic They won’t fit in your pocket, though.
Battery life- so buy some extras, Cheap Charlie!
No weather sealing- I live in a place where it rains for five months of the year, so this does suck.
THE BOTTOM LINE
If you shoot street, documentary, or just want a genuinely pocketable travel camera with excellent image quality, and if you can afford the admission price, just buy one!
Extra stuff
Here are some links to things of interest around the GR III:
Ricoh hosts a GR community webpage featuring many ‘GRists’ - well-known users of the GR series:
Most standard speedlight systems are unwieldy on the tiny GR III. Here are two that have been well-reviewed and play well with the form factor and portability:
(manual only): Lightpix Labs Q20 II flash
(TTL metering): Pentax AF201FG flashgun
Most YouTube photography channels focus on gear reviews. This is great and provides useful information for prospective buyers of new equipment, but here are two guys whose focus is more on the philosophy of taking photographs. I have found both to be informative and inspiring.
Thanks Mr Kevin for this review.
URL: https://www.easternportrait.com/blog-1/2020/11/6/ricoh-griii